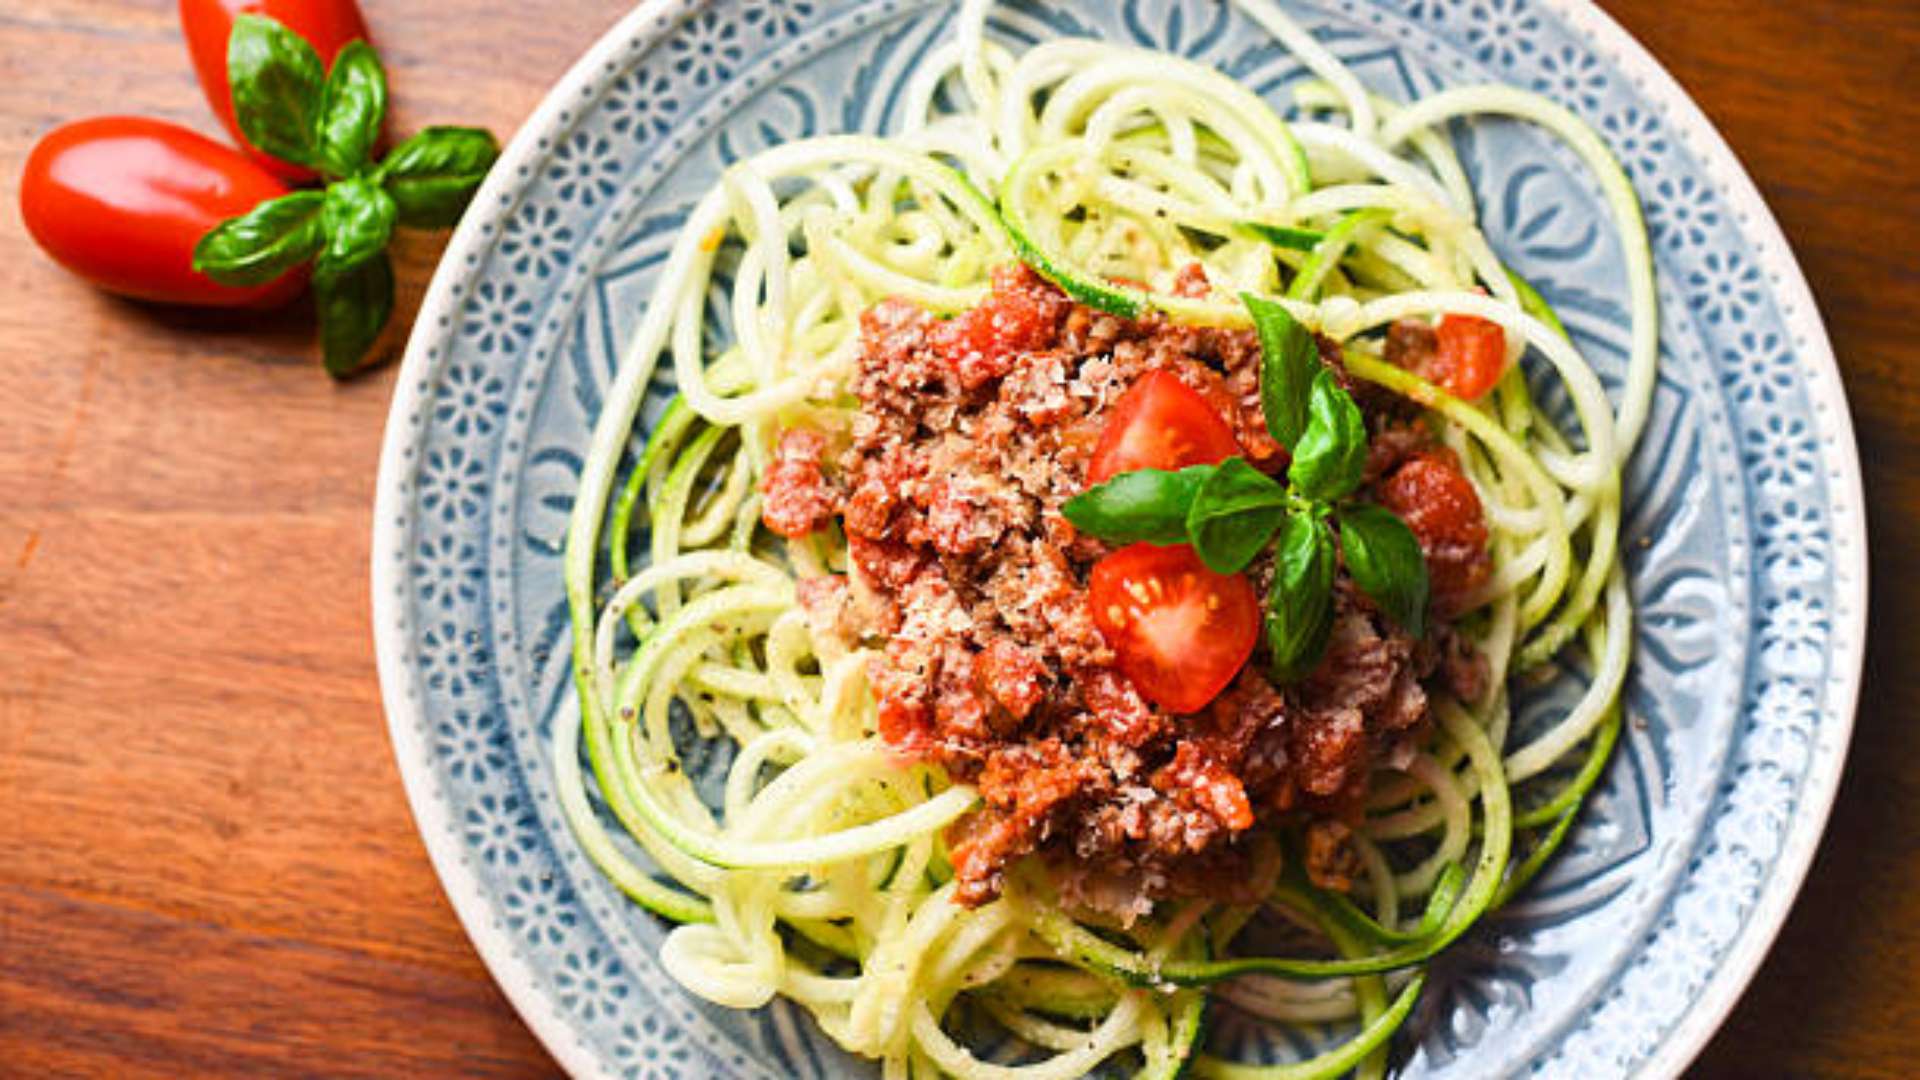
Enjoy a healthy and delicious meal with this Slow Cooker Turkey Spaghetti served over zucchini noodles. This low-carb, easy-to-make recipe is perfect for those looking to lose weight or enjoy a nutritious, satisfying dinner. Perfect for anyone following a healthy eating plan or fitness goals.
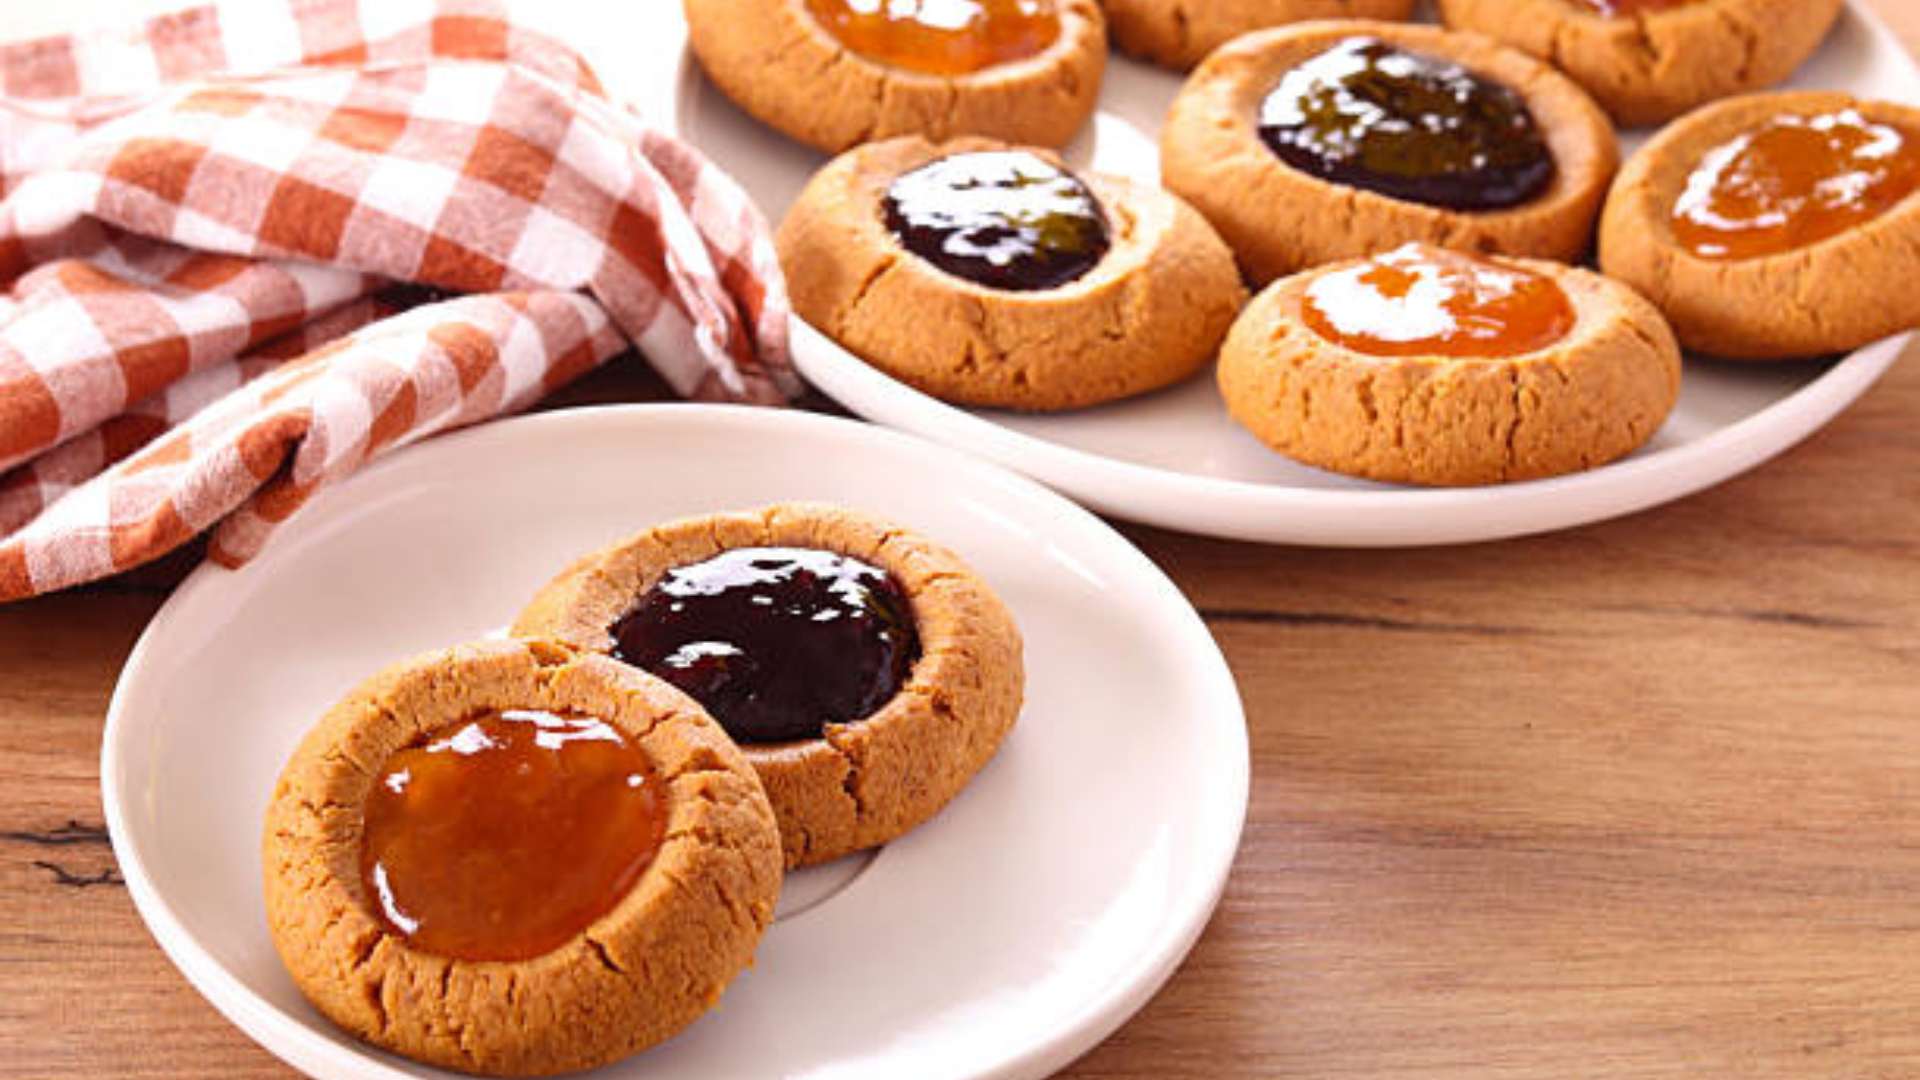
Thumbprint Cookies – A Sugar-Free Cookie Wonderland
Wait, did I just say cookies? After an article about cutting out sugar, you might be wondering if I’ve lost my mind. But hold on a second! These Thumbprint Cookies are completely sugar-free and made with stevia—so you can still eat a cookie AND keep your sugar intake in check. I promise, it’s a win-win!
You know what stevia is, right? It’s that magical, zero-calorie, zero-sugar sweetener that comes from a humble little leaf—so basically, it’s nature’s way of giving us the gift of sweet things without the guilt. And the best part? You can even grow it in your garden if you’re feeling extra ambitious (no pressure).
Now, let’s be real. If we can make cookies that are zero sugar but still satisfy that sweet tooth, why wouldn’t we? Not only will you be healthier and leaner, but you’ll also have more energy. And you can do all this while munching on a delicious cookie. It’s like living in a dream.
Sure, there may be a small “adjustment period” when you first try stevia—your taste buds will need some time to get on board with the idea of no sugar. But trust me, once you adjust, you’ll look back and wonder how you ever survived on all that sugar. These cookies are your gateway to a new, sugar-free cookie world. So, grab your mixing bowls and let’s bake!
Servings: 30
What You Need:
- ⅔ cup blanched almond flour (get your gluten-free groove on)
- 2 tablespoons coconut flour (because why not add a little coconut goodness?)
- 2 teaspoons arrowroot starch (for that perfect chewy texture)
- ⅛ teaspoon sea salt (balance is key)
- 6 tablespoons coconut oil, softened (you’re basically making magic here)
- 2 tablespoons coconut cream (this makes the dough extra dreamy)
- 2 teaspoons liquid stevia (the star of the show)
- 1 egg yolk (because cookies are better with egg yolk)
- ½ teaspoon vanilla extract (don’t skip this—vanilla = happiness)
- ¼ teaspoon almond extract (because almonds make everything better)
- 4oz Lily’s stevia-sweetened chocolate (chips or bar—either works, but both are delicious)
- 1 tablespoon coconut oil (to melt the chocolate to perfection)
- ⅔ cup natural peanut butter (or you can swap for another nut butter or even berries if you’re feeling wild)
Instructions:
- Preheat & Prep: Heat that oven to 350°F and line a baking sheet with parchment paper (trust me, you’ll thank me later when it’s easier to clean up).
- Mix the Dry Stuff: In a medium bowl, combine the almond flour, coconut flour, arrowroot starch, and sea salt. Whisk like you mean it until it’s smooth and lump-free.
- Cream It Up: In your electric mixing bowl (or hand mixer if you’re in the mood to work for it), combine the coconut oil, coconut cream, and stevia. Mix on medium-high until it’s light and fluffy—about 5 minutes. It should look like the perfect whipped-up treat. Add the egg yolk, vanilla extract, and almond extract, and mix until it’s all well combined.
- Blend the Dry Ingredients: Now, slowly add the dry ingredients to the wet coconut oil mixture. Keep the speed low and mix until everything is creamed together in sweet harmony.
- Shape the Cookies: Grab a heaping teaspoon of dough and roll it into a ball. Now, here’s the fun part—press your thumb into the center of each ball to create the iconic thumbprint. Place them on your baking sheet like little cookie soldiers ready for the oven. Bake for 12-14 minutes or until they’re lightly golden and smell like happiness.
- Chill Out: Once baked, let those beauties cool for 5 minutes on the pan. Patience is key!
- Chocolate Dip Time: While your cookies cool, melt the Lily’s stevia-sweetened chocolate and coconut oil together in a double boiler (you can totally wing it with a microwave, too, but I love the double boiler method for that smooth chocolate magic). Stir until smooth, then dip the bottom of each cookie into the chocolate. Add a little extra chocolate into the thumbprint for good measure, and top with a dollop of peanut butter (or nut butter of your choice).
- Freezer Fun: Now, place those chocolate-dipped thumbprint cookies onto a parchment-lined pan and stick them in the freezer for about 5 minutes until the chocolate sets. Go ahead and do a happy dance while you wait.
- Enjoy the Sweetness: Once the chocolate is set, it’s time to indulge! Take a bite of these healthy, guilt-free cookies and be amazed that you’re eating a sugar-free treat that actually tastes amazing.
Nutritional Analysis:
One serving equals: 90 calories, 7g fat, 4g carbohydrates, 10mg sodium, 1g sugar, 2g fiber, and 2g protein.
Now, you’ve got your sugar-free, healthier Thumbprint Cookies ready to go! Who knew that cutting out sugar could be so sweet? Go ahead, share this with a friend and spread the joy of healthy (and delicious) cookies. Enjoy! 🍪
Related Posts